
The Best Fluffy Pancakes recipe you will fall in love with. Full of tips and tricks to help you make the best pancakes.
If you are looking for a dessert that combines creamy richness, fruity sweetness, and buttery crumble in every bite, these Peach Cobbler Cheesecake Bars are exactly what you need. This recipe blends three classic favorites—peach cobbler, cheesecake, and buttery shortbread—into one irresistible layered dessert.
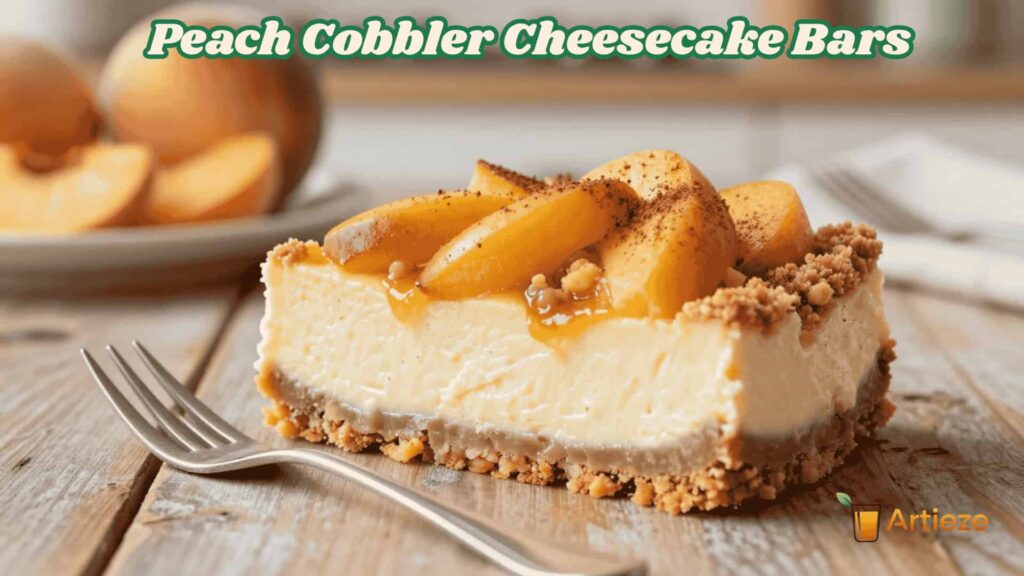
Perfect for summer gatherings, family dinners, potlucks, or even holiday tables, these bars are easy to slice, serve, and enjoy. The contrast between the smooth cheesecake layer, juicy peaches, and golden crumble topping makes this dessert unforgettable.
In this article, you will learn how to make Peach Cobbler Cheesecake Bars step-by-step, along with expert baking tips, variations, and storage instructions to ensure perfect results every time.
What Are Peach Cobbler Cheesecake Bars?
Peach Cobbler Cheesecake Bars are a layered dessert that combines:
- A buttery crust (like shortbread or graham-style base)
- A creamy cheesecake filling
- Sweet peach cobbler filling with cinnamon spice
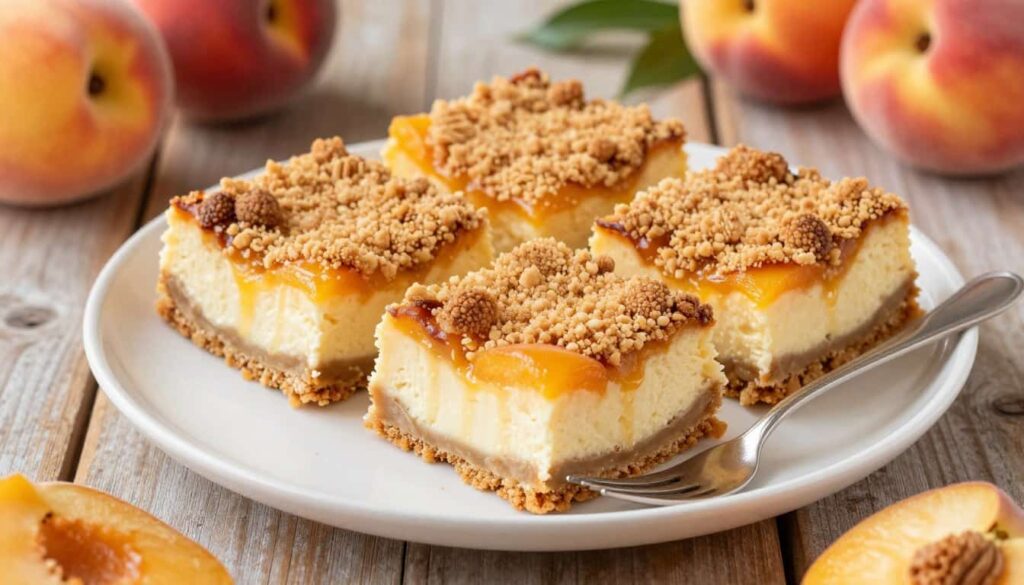
- A golden crumble topping
Each bite delivers a balance of textures: creamy, soft, juicy, and slightly crunchy. This dessert is inspired by traditional Southern peach cobbler but elevated with a rich cheesecake layer that makes it more indulgent and modern.
Why You’ll Love This Recipe
There are many reasons why this dessert stands out:
- Easy to prepare with simple ingredients
- Perfect balance of creamy and fruity flavors
- Great for parties, holidays, and gatherings
- Can be made ahead of time
- Easy to slice and serve as bars
- Crowd-pleasing dessert for all ages
Unlike traditional cheesecake, these bars are more forgiving and beginner-friendly.
Ingredients You Need
For the Crust:
- 1 ½ cups all-purpose flour
- ½ cup unsalted butter (melted)
- ¼ cup sugar
- 1 teaspoon vanilla extract
- Pinch of salt
For the Cheesecake Layer:
- 16 oz cream cheese (softened)
- ½ cup sugar
- 2 large eggs
- 1 teaspoon vanilla extract
- 2 tablespoons sour cream (optional for creaminess)
For the Peach Filling:
- 3–4 fresh peaches (or canned peaches, drained)
- ¼ cup brown sugar
- 1 teaspoon cinnamon
- 1 teaspoon lemon juice
- 1 tablespoon cornstarch
For the Crumble Topping:
- ¾ cup flour
- ⅓ cup brown sugar
- ¼ cup cold butter (cubed)
- ½ teaspoon cinnamon
How to Make Peach Cobbler Cheesecake Bars (Step-by-Step)
Step 1: Prepare the Crust
Preheat your oven to 175°C (350°F). Line a baking pan with parchment paper.
In a bowl, mix flour, melted butter, sugar, vanilla, and salt until a soft dough forms. Press evenly into the bottom of the pan.
Bake for 10–12 minutes until lightly golden. Remove and let it cool slightly.
Step 2: Make the Cheesecake Layer
In a mixing bowl, beat the cream cheese and sugar until smooth and creamy.
Add eggs one at a time, mixing slowly. Stir in vanilla and sour cream.
Pour the cheesecake mixture over the slightly cooled crust and spread evenly.
Step 3: Prepare the Peach Filling
Slice peaches into thin wedges.
In a bowl, combine peaches, brown sugar, cinnamon, lemon juice, and cornstarch. Mix gently until peaches are coated.
Spoon the peach mixture evenly over the cheesecake layer.
Step 4: Make the Crumble Topping
In a bowl, mix flour, brown sugar, and cinnamon.
Add cold butter cubes and use your fingers or a fork to create a crumbly texture.
Sprinkle evenly over the peach layer.
Step 5: Bake the Bars
Bake for 35–40 minutes until the top is golden and the cheesecake is set.
The center should be slightly firm but still creamy.
Step 6: Cool and Chill
Let the bars cool at room temperature, then refrigerate for at least 3–4 hours (preferably overnight).
This step helps the layers set properly for clean slicing.
Preparing Your Kitchen and Equipment
Professional results for your easy dessert bars begin with the right equipment. Taking a few minutes to organize your workspace helps you stay focused and efficient while you bake. A well-prepared kitchen is the secret to turning a simple recipe into a masterpiece.
Choosing the Right Baking Pan
The type of pan you select significantly impacts how your treat bakes. For most recipes, a heavy-duty metal pan is the best choice because it conducts heat evenly. This ensures that your crust browns perfectly without burning the edges.
Avoid using glass pans if possible, as they heat up slowly and can lead to uneven cooking. A light-colored metal pan is ideal for preventing the bottom of your bars from becoming too dark. Always line your pan with parchment paper to make removing your easy dessert bars a breeze.
| Pan Material | Heat Conductivity | Best Use |
| Light Metal | Excellent | Even browning |
| Dark Metal | High | Crispy edges |
| Glass | Low | Slow, gentle baking |
Essential Tools for Smooth Cheesecake Batter
Achieving a silky, lump-free filling requires the right mixing tools. A stand mixer fitted with a paddle attachment is the gold standard for blending cream cheese until it is perfectly smooth. If you do not have a stand mixer, a high-quality hand mixer works just as well.
Make sure you also have a sturdy rubber spatula on hand to scrape down the sides of your bowl. This simple step ensures that every bit of your batter is incorporated evenly. Using these tools will help you create a professional-grade dessert that looks as good as it tastes.
Storage and Freezing Tips for Longevity
Proper storage ensures that every bite of your dessert remains as delightful as the first. Taking a few extra moments to pack your bars correctly will help maintain their creamy texture and vibrant fruit flavor.
Proper Refrigeration Techniques
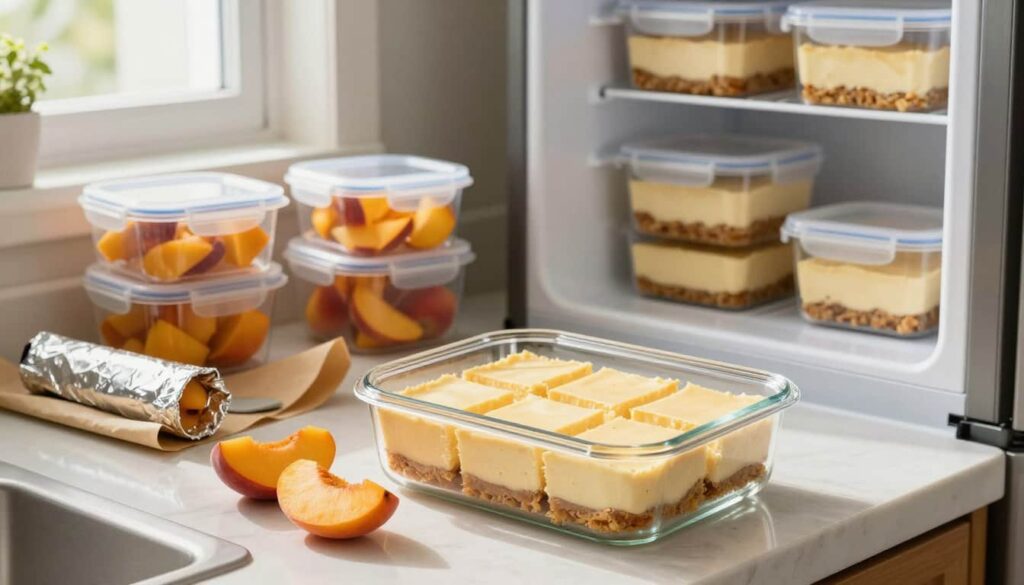
If you plan to eat your bars within a few days, the refrigerator is your best friend. Always place the bars in an airtight container to prevent them from absorbing other odors in your fridge.
For the best results, place a sheet of parchment paper between layers if you are stacking them. This simple step keeps the crumble topping from becoming soggy or sticking to the bottom of the bars above it. When stored properly, these treats will stay fresh for up to five days.
How to Freeze Cheesecake Bars Successfully
Freezing is a fantastic option if you want to save your dessert for a future event. To freeze successfully, allow the bars to cool completely to room temperature before wrapping them.
Wrap each bar individually in plastic wrap, then place them inside a heavy-duty freezer bag. This double-layer protection is essential for preventing freezer burn and maintaining the integrity of the cheesecake filling. You can safely keep these bars in the freezer for up to two months.
Thawing and Serving After Freezing
When you are ready to enjoy your frozen treats, patience is key. The best method is to move the bars from the freezer to the refrigerator to thaw slowly overnight.
Avoid thawing them at room temperature, as this can cause the cheesecake layer to lose its smooth consistency. Once thawed, you can serve them chilled or let them sit on the counter for ten minutes to reach the perfect serving temperature. Your guests will never know they were prepared weeks in advance!
Common Troubleshooting for Cheesecake Success
Even the most skilled bakers occasionally face hurdles when preparing delicious treats. If your baked cheesecake bars do not turn out exactly as expected, do not feel discouraged. Most issues are simple to fix with a few minor adjustments to your technique.
Fixing Runny or Under-Set Filling
A filling that remains soft or runny often indicates that the dessert has not reached the proper internal temperature. You should ensure the center has a slight wobble but is not liquid before removing it from the oven. If you find your baked cheesecake bars are under-set, try extending the chilling time in the refrigerator for several hours.
If the bars are still too soft after cooling, you can place them back in the oven at a low temperature for a few minutes. Always allow the dessert to reach room temperature before moving it to the fridge. This gradual cooling process helps the structure set firmly without creating cracks.
Preventing Soggy Crusts
A soggy base is a common frustration, but it is easily avoidable with the right preparation. You should always pre-bake your crust before adding the filling to ensure it stays crisp. This step creates a protective barrier that prevents moisture from the fruit and cheese layers from soaking into the dough.
Another effective trick is to let the crust cool completely before adding the topping. If you add the filling while the crust is still hot, the butter will melt and create a soft, greasy texture. By following these steps, your baked cheesecake bars will maintain their structural integrity and delicious crunch every time.
| Issue | Primary Cause | Recommended Fix |
| Runny Filling | Under-baking | Chill longer or re-bake |
| Soggy Crust | Moisture absorption | Pre-bake the base |
| Cracked Surface | Over-mixing | Use room temp ingredients |
Why This Recipe Stands Out Among Peach Dessert Recipes
What makes a dessert truly memorable is the harmony of its ingredients. While many options exist, this peach dessert recipe offers a distinct profile that elevates it above standard fruit-based treats.
Balancing Sweetness and Tanginess
The secret to this dish lies in the sophisticated contrast between the natural sugars of the fruit and the sharp, rich notes of the dairy. Fresh peaches provide a delightful, sun-ripened sweetness that feels like summer in every bite.
When paired with the velvety, slightly acidic cream cheese layer, the flavors become perfectly balanced. This interplay prevents the dessert from feeling overly sugary, ensuring that each mouthful remains refreshing and complex.
The Appeal of Portable Dessert Bars
Beyond the flavor, the structure of these bars makes them a top contender for party dessert recipes. Unlike traditional pies or cakes that require careful slicing and plating, these bars are designed for convenience.
They are easy to pick up and enjoy while mingling, making them an ideal choice for busy hosts. Whether you are attending a backyard barbecue or a formal gathering, their portability and mess-free nature ensure they are always a crowd-pleaser.
Conclusion
Baking these bars brings a sense of accomplishment to any kitchen. You now possess the skills to balance creamy textures with fresh fruit flavors in every bite.
These bars represent the best of homemade dessert ideas for your next gathering. Your guests will appreciate the effort put into such a balanced and delicious treat.
Keep this recipe handy for summer picnics or cozy nights at home. It remains a top choice among homemade dessert ideas because it is both reliable and crowd-pleasing.
Share your results with friends or experiment with new toppings to make the recipe your own. Your journey into creating professional-quality sweets starts with this simple, rewarding process.
FAQ
What exactly are peach cobbler cheesecake bars?
These delicious treats are a fusion of two classic desserts, layering a buttery crust, a rich layer of Philadelphia Cream Cheese, and a spiced peach cobbler dessert topping. This peach dessert recipe offers the perfect balance of creamy and fruity textures in a convenient, portable format.
Can I use frozen peaches for this cheesecake bars recipe?
Yes, you can! While fresh, seasonal fruit is a highlight of summer dessert recipes, high-quality frozen peaches (thawed and drained) or canned peaches will work beautifully. This flexibility makes it one of the most versatile homemade dessert ideas to enjoy year-round.
How do I prevent the crust from becoming soggy in these baked cheesecake bars?
To ensure your easy dessert bars have a firm base, it is helpful to pre-bake the crust for about 8 to 10 minutes before adding the cheesecake filling. This creates a barrier that keeps the crust crisp and delicious.
Why do my cheesecake bars sometimes have cracks on top?
Cracks are often caused by overbeating the batter or sudden temperature changes. To get a perfectly smooth fruity cheesecake, use room temperature ingredients and mix with a KitchenAid stand mixer on low speed. Also, allow the bars to cool gradually at room temperature before placing them in the refrigerator.
How should I store these peach cobbler cheesecake bars for a party?
These are excellent party dessert recipes because they can be made in advance. Store them in an airtight container in the refrigerator for up to five days. For the best flavor and texture, slice them while cold using a sharp knife dipped in warm water.
Can I freeze this peach dessert recipe for later use?
Absolutely! These baked cheesecake bars freeze exceptionally well. Simply wrap individual bars tightly in plastic wrap and then aluminum foil. They can be frozen for up to three months; just thaw them in the fridge overnight before serving.
What are some creative ways to customize this fruity cheesecake?
You can easily elevate these easy dessert bars by adding a dash of McCormick cinnamon or nutmeg to the peach layer. For a more decadent touch, try drizzling the finished bars with Smucker’s Salted Caramel or adding a crunchy brown sugar streusel topping.
What equipment is best for making these peach cobbler cheesecake bars?
For even baking and clean edges, a square metal baking pan lined with parchment paper is ideal. Using a hand mixer or a stand mixer ensures your cheesecake bars recipe has a velvety, lump-free consistency every time.
Why is this recipe considered one of the best summer dessert recipes?
This recipe stands out because it captures the essence of summer by using ripe, juicy peaches while providing the indulgence of a traditional cheesecake. Its portability makes it a favorite for outdoor picnics, barbecues, and as a staple in your collection of homemade dessert ideas.
How do I know when the cheesecake layer is perfectly baked?
The bars are done when the edges are set and slightly golden, but the center still has a slight jiggle when you gently shake the pan. The filling will continue to firm up as it cools, ensuring a dense and creamy baked cheesecake bars texture.